
Call for Quotes Supply, Installation, Repair, Maintenance Contact us today!
Request A Quote


Summer in Australia can arrive fast and furious. One moment you’re enjoying crisp autumn evenings; the next you’re reaching for the remote as the heat climbs.
A little spring preparation will save you sweat, cost, and disappointment when your split system air-conditioner has to carry the load.
This guide walks you through a practical, step-by-step checklist to get your split system ready for the long Australian summer with clear explanations, safety tips and answers to the questions you’ll probably ask.
Your split system is more than a box that blows cold air. It’s a mechanical system with filters, coils, a refrigerant circuit and electrical components. Left untouched through winter and spring, small problems can become big, expensive failures in the height of summer. A pre-season check:
A 30–60 minute check now can avoid a week of sweating later.
RELATED BLOG: What is a Split System Air Conditioner?
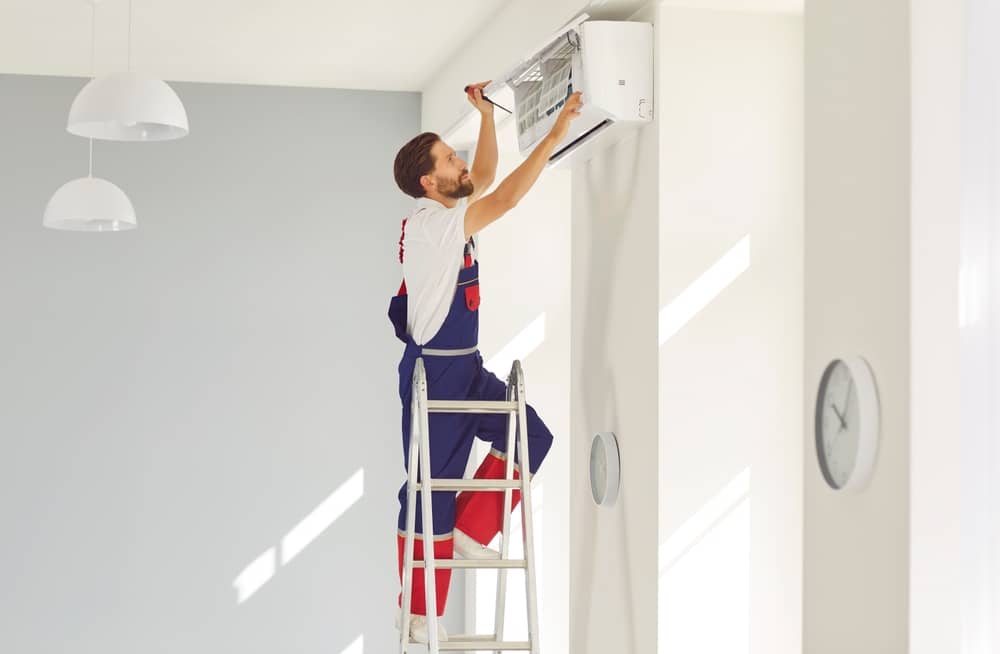
Safety first. Turn the AC off at the wall and the outdoor isolating switch before you touch anything. If you’re unsure, don’t risk it — call a licensed technician. Most split systems can be serviced by a confident homeowner up to a point (cleaning filters, wiping surfaces, checking basic operation). Anything involving refrigerant, gas, or complex electrical work must be left to a licensed air-conditioning technician.
Tools you might need: a soft brush, microfibre cloth, vacuum with brush attachment, coil cleaner (household type), screwdriver, ladder (for outdoor unit access), and gloves.
Whether you’re after split systems in Ringwood, Kew or Essendon, Absolute Airflow has a team of Melbourne-wide installers that are ready to assist. Reach out to us for a free quote today!
Open the front panel and look inside. You’re checking for obvious issues: dust build-up, mould, pest nests, or water stains.
If you spot mould or persistent smells, it’s best to get a professional clean. Mould can spread through ducting and harm indoor air quality.
This is the most important DIY step and often the simplest.
Clean filters improve air flow, efficiency and reduce strain on the compressor.
If you can access the evaporator coil, look for heavy dust or grime. Light dust can be removed with a soft brush or vacuum.
If you’re not confident or the coil is greasy/mouldy, book a professional service. Technicians can treat coils safely and check the drain for hidden clogs.
The outdoor unit needs breathing space.
If fins are badly bent, a technician can straighten them with a fin comb. Avoid poking or pressing on the fins yourself.
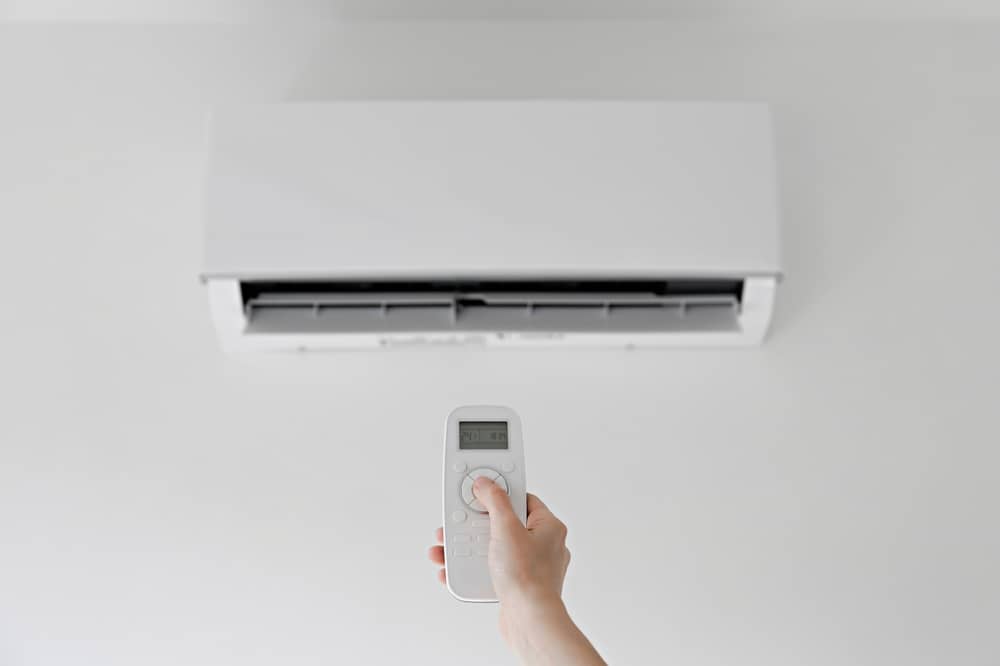
Restore power and run the system in cooling mode for 10–15 minutes.
Minor noises may be loose panels or debris — check panels and screws. Persistent electrical or compressor noises require a technician.
A poorly calibrated thermostat can cycle the AC unnecessarily and increase running costs.
Refrigerant doesn’t “run out” — leaks cause low levels and performance problems.
Signs of low refrigerant: the unit runs but the indoor air isn’t getting cold, ice forms on the evaporator coil, or the compressor runs continuously. If you suspect a leak, call a licensed technician — refrigerant work is regulated and requires certification.
Small changes save money:
If your split system is old (10+ years), consider energy-efficient replacement options — newer units use less power and offer improved comfort.
If you own split systems in Camberwell or any corner of Melbourne, don’t hesitate to get in touch for professional maintenance. Our technicians are fully insured, accredited and down-to-earth. Get a free quote today.
Be sure to call a licensed technician for:
Ask for technicians who are licensed and insured, and request a written quote before work begins.
A little spring care keeps your split system humming and your home comfortable when the summer heat arrives.
Start with simple checks — clean filters, clear the outdoor unit and run a short test — then call a professional for annual servicing or any complex issues. Early action saves money, improves air quality, and makes sure you won’t be left sweltering when temperatures spike.
Ready to get your split system summer-ready? Absolute Airflow offers professional pre-season servicing across our service areas — from filter cleans and drain checks to full system inspections and repairs. Visit our website today to book a pre-summer service or request a free quote today.
Stay cool — and prepared.
How often should I get a professional service?
A full professional service once a year is recommended for most homes. If you live near the coast, have high pollen, or heavy usage, consider servicing every six months.
Can I clean the outdoor unit with a high-pressure hose?
No. High pressure can damage fins and motors. Use a gentle hose spray and a soft brush instead.
What if my unit smells like mould?
Mould smells often mean dirt on the coil or a blocked drain. Try cleaning filters and the drain. If the smell persists, book a professional clean — they can treat the coil and disinfect the system safely.
My unit won’t start despite power — what should I check?
Check the circuit breaker and the outdoor isolator switch. If they’re fine, there may be a fault with the remote, thermostat, or control board. A technician should inspect electrical faults.
Is it worth repairing an old split system?
If the repair cost is more than 40–50% of the unit’s replacement cost and the system is over a decade old, replacement is often more cost-effective. New units are quieter, more efficient and may qualify for rebates in some states.
© Copyright 2025 - Absolute Airflow - All Rights Reserved


